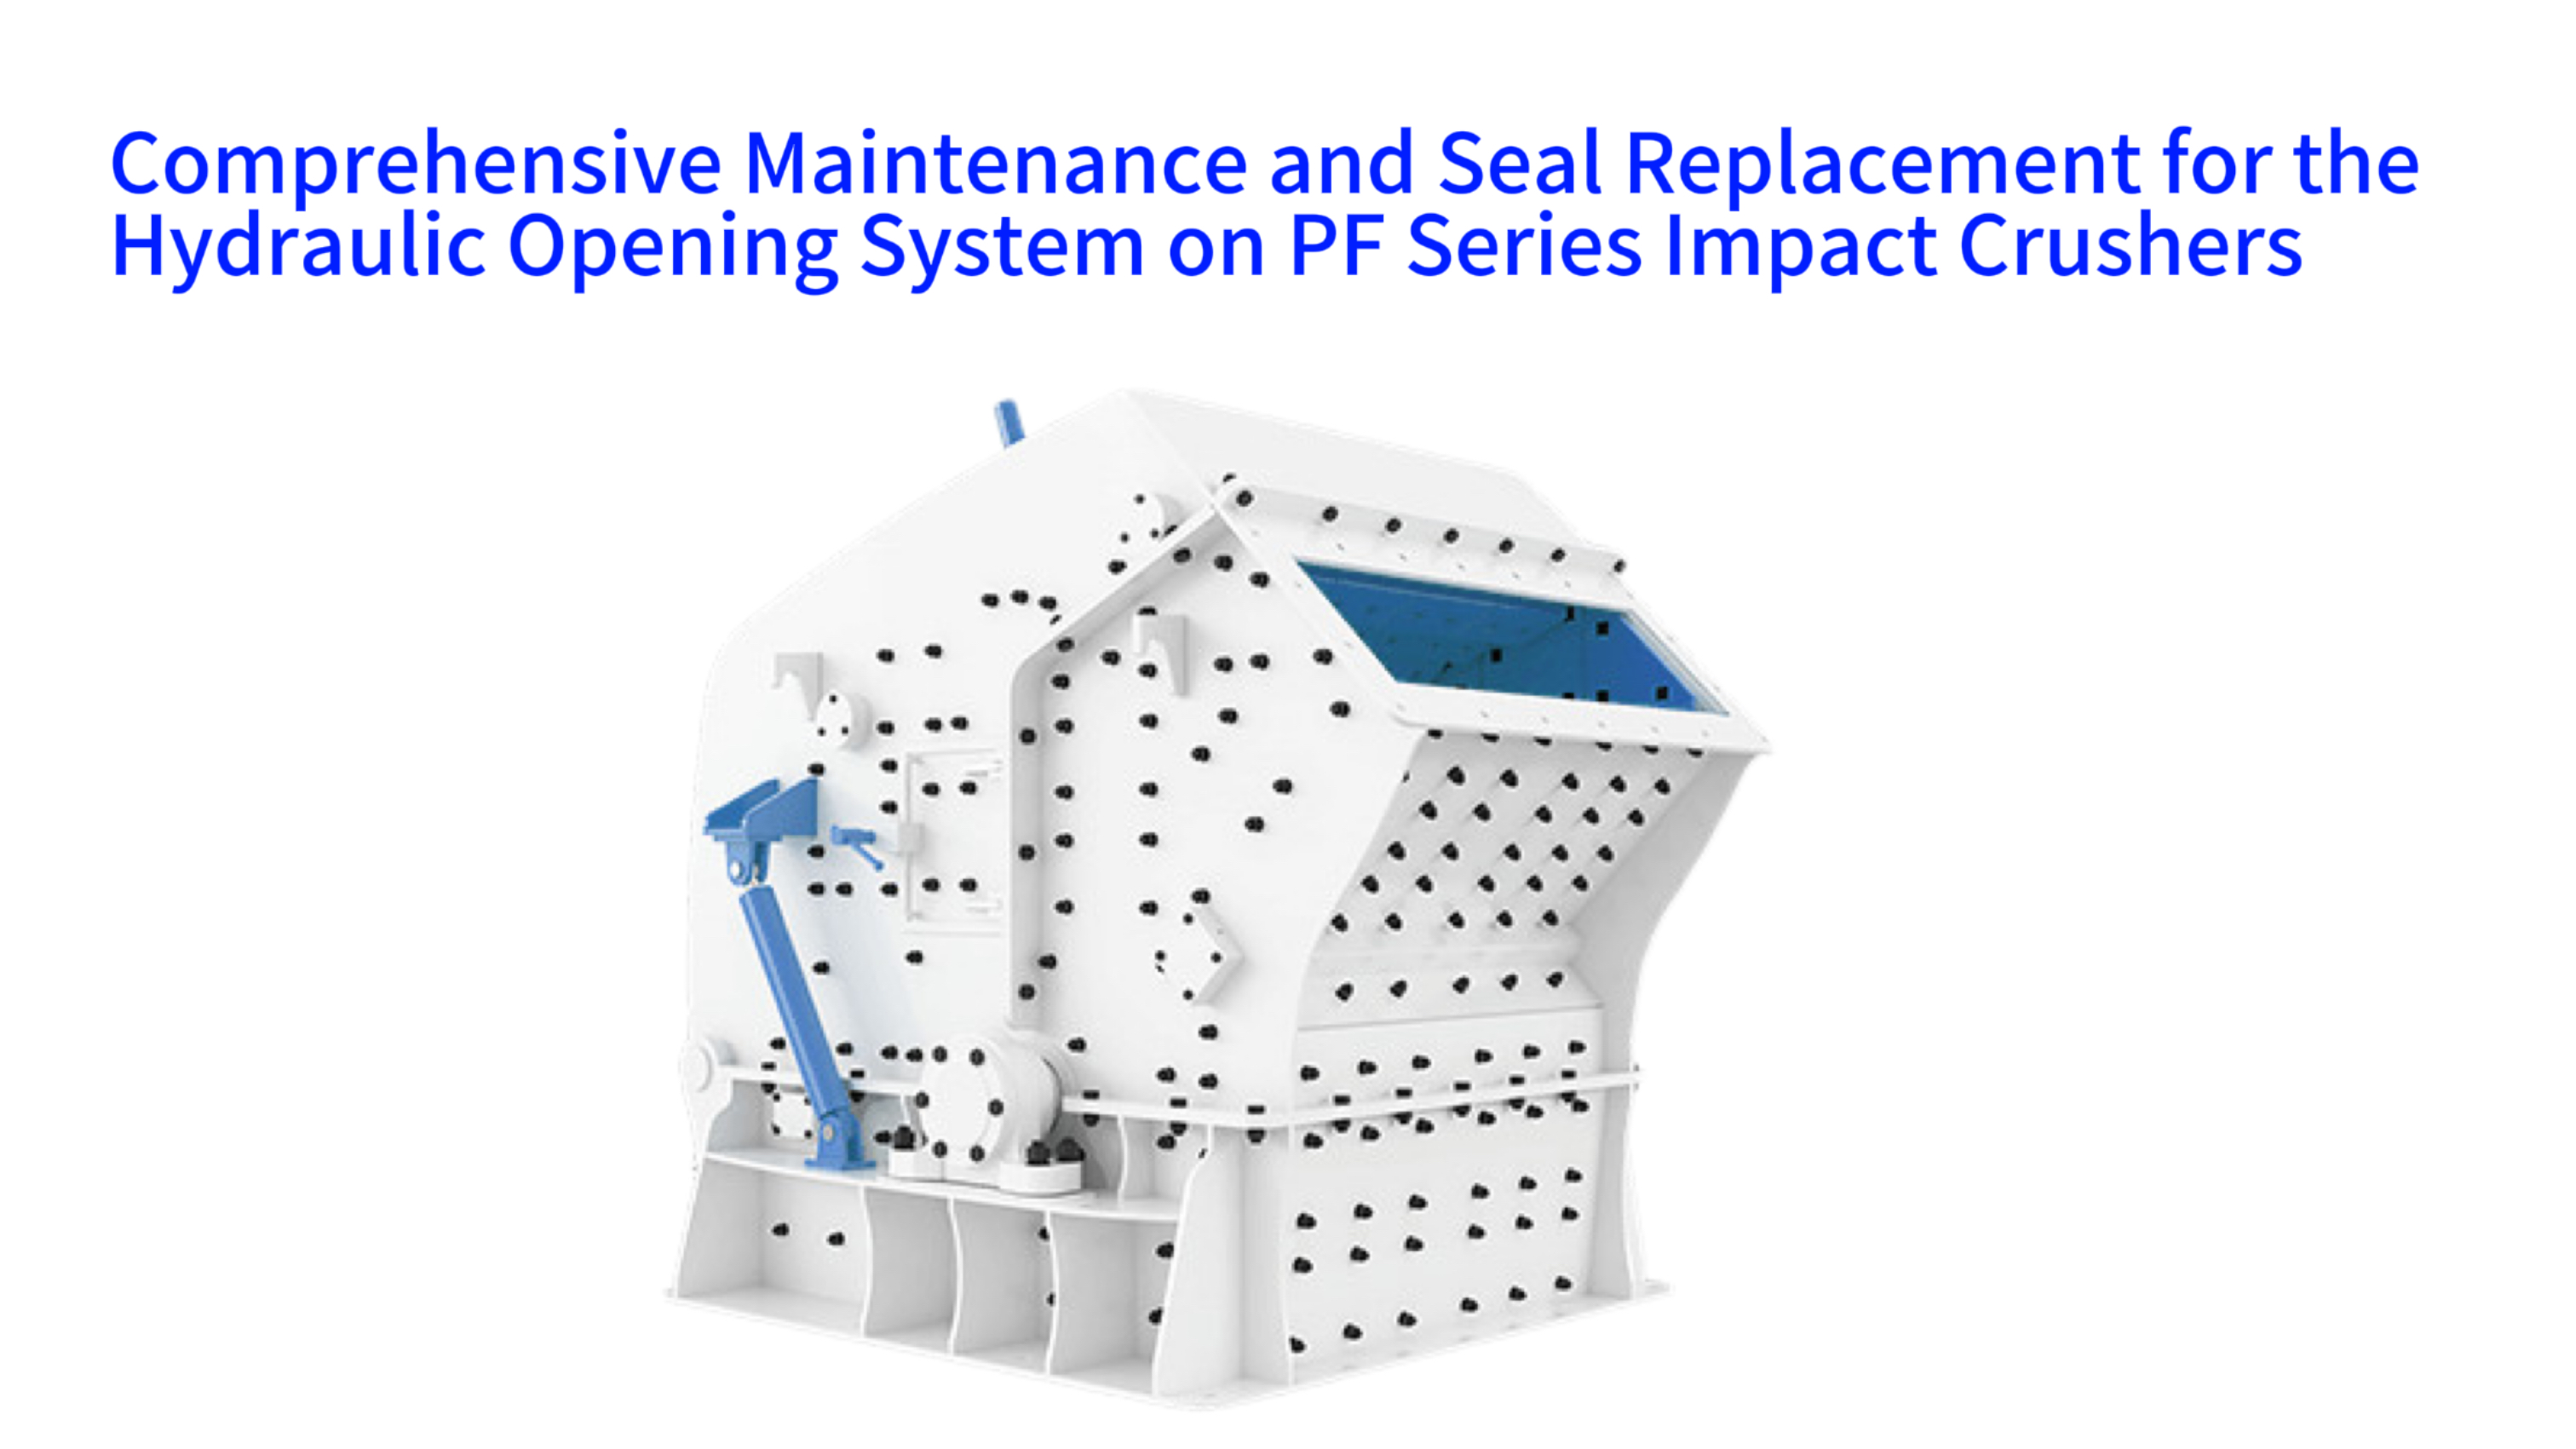
Comprehensive Maintenance and Seal Replacement for the Hydraulic Opening System on PF Series Impact Crushers
This article provides a systematic exploration of the procedures necessary for maintaining the hydraulic opening device integral to PF Series impact crushers. The discussion encompasses the operational principles governing this subsystem, a detailed sequence for its disassembly and reassembly, and critical precautions for replacing its sealing components. A focus is placed on methodologies for performance verification post-maintenance and strategies for troubleshooting common operational failures such as fluid leakage or insufficient pressure. Adherence to the outlined protocols ensures the sustained reliability of the hydraulic system, directly contributing to extended equipment service life, minimized unplanned operational interruptions, and the overall efficiency of the crushing production line. The objective is to deliver a technically robust guide that remains accessible to a broad audience interested in industrial machinery upkeep.
Fundamental Role and Structural Configuration of the Hydraulic Opening Mechanism
Hydraulic Opening System Core Components & Functions
| Component | Primary Function | Critical Sealing Points |
|---|---|---|
| Hydraulic Cylinder | Converts fluid pressure to linear force for frame pivoting | Rod seal, Piston seal, Port O-rings |
| Hydraulic Power Unit (Pump/Motor) | Generates and supplies high-pressure hydraulic fluid | Shaft seal, Reservoir gasket, Filter O-rings |
| Control Valve Manifold | Directs fluid flow to extend/retract the cylinder | Valve stem seals, Flange gaskets, Port O-rings |
| Reinforced Hydraulic Hoses | Transmits pressurized fluid between components | Hose end fittings, Crimp seals, Connection gaskets |
Power Transmission Chain: Pump → Cylinder
1. Electric Motor
Drives hydraulic pump at rated speed
2. Hydraulic Pump
Pressurizes fluid from reservoir (gear pump typical)
3. Control Valve Manifold
Directs fluid flow to cylinder cap/rod end
4. Hydraulic Cylinder
Converts fluid pressure to linear force for frame movement
The hydraulic opening device constitutes a critical safety and operational feature within the PF impact crusher framework. Its primary function involves the controlled and mechanized opening of the crusher's rear frame, facilitating safe access for internal inspection, wear part replacement like lining plates, or the removal of any crushing chamber blockage. This operation is powered by a dedicated hydraulic power unit which transmits fluid pressure to one or more hydraulic cylinders. These cylinders generate the linear force required to pivot the heavy rear frame assembly about its hinge points, eliminating the need for hazardous manual intervention with tools. The complete system includes several key components: the hydraulic cylinder or cylinders, the power unit containing an electric motor and pump, a manifold of control valves for directing fluid flow, high-pressure reinforced hoses, and an array of seals at every connection point and moving interface. Regular and meticulous maintenance of this system is not merely recommended but is essential for protecting personnel during maintenance events and for ensuring rapid access to reduce machine downtime significantly.
The integration of this hydraulic system transforms a physically demanding and potentially risky task into a routine and controlled procedure. By replacing manual levers or tools, it mitigates the risk of strain injuries or pinch points associated with moving heavy structural parts. Furthermore, the speed and consistency of the hydraulic operation directly translate to shorter maintenance windows. This reduction in the time required for essential checks or part changes has a measurable positive impact on a plant's overall equipment effectiveness, a key metric for production efficiency. The system's design reflects a balance between robust force application and precise control, allowing operators to open the crusher partially or fully as needed for the task at hand.
The Dual Importance of Safety Enhancement and Operational Efficiency
From a safety perspective, the hydraulic opener serves as a primary engineering control. It physically separates personnel from the risks inherent in manually persuading several tons of steel framework. The controlled movement provided by the hydraulic cylinders prevents sudden shifts or drops that could cause serious injury. This aspect of the design aligns with modern industrial safety standards that prioritize the elimination of hazards where possible. On the operational side, efficiency gains are quantifiable. For instance, a task that might require an hour for manual preparation and opening can often be completed in a few minutes using the hydraulic system. This time saving accumulates over the life of the machine, directly influencing production capacity and profitability by maximizing the time the crusher spends in active processing rather than in a maintenance state.
Analysis of the Power Transmission Chain from Pump to Cylinder
The generation and application of force begin at the hydraulic power unit. An electric motor drives a hydraulic pump, typically a gear pump for its reliability and suitability for the required pressure ranges, which draws hydraulic fluid from a reservoir and pressurizes it. This pressurized fluid is then conveyed through reinforced hoses and fittings to a control valve block. The manual or solenoid-operated valves within this block act as traffic directors for the fluid, sending it to either the cap end or rod end of the hydraulic cylinder to extend or retract it. The hydraulic cylinder itself acts as a linear actuator, converting the energy of the moving fluid under pressure into a powerful pushing or pulling force at the piston rod. The strategic placement of the cylinder's mounting points determines the mechanical advantage and range of motion applied to the rear frame, a design consideration crucial for smooth operation.
Criticality of the Sealing System in Preventing Performance Degradation
The integrity of the entire hydraulic system is wholly dependent on its seals. These components, including O-rings for static seals, rod seals for the dynamic piston rod, and various gaskets at flange connections, serve as barriers. Their function is to contain the high-pressure hydraulic fluid within the designated passages and chambers while excluding external contaminants. A failure at any major sealing point, such as the piston rod seal, leads directly to fluid leakage. This loss results in a drop in system pressure, preventing the cylinder from generating sufficient force. Beyond the operational failure, hydraulic fluid leaks pose environmental concerns, create slip hazards, and incur costs for fluid replacement. Therefore, understanding seal types and their maintenance is fundamental to the system's longevity, a principle that applies broadly across many types of industrial crusher mechanisms where hydraulic components are used.
Universal Safety Protocols and Preparatory Actions
Before initiating any physical work on the hydraulic system, a strict safety protocol must be followed. The foremost step is the complete isolation of all energy sources. This involves performing a lockout-tagout procedure on both the main crusher drive and the hydraulic power unit's electrical supply. Following power isolation, residual hydraulic pressure trapped within the cylinders and hoses must be safely bled off by cautiously operating the control valve with the pump off. Personnel must equip themselves with appropriate personal protective equipment, including safety glasses to guard against fluid sprays, gloves, and sturdy footwear. The immediate work area should be cleared, well-lit, and equipped with drip pans or absorbent materials to manage any spilled hydraulic fluid, preparing a controlled environment for the maintenance tasks ahead.
Pre-Maintenance System Inspection and Diagnostic Evaluation
Hydraulic Fluid Condition & Contamination Assessment
| Fluid Appearance | Probable Contamination | Potential Risks | Recommended Action |
|---|---|---|---|
| Clear & Amber (Fresh) | None (Within specification) | Minimal component wear or seal degradation | Monitor regularly; no immediate action needed |
| Cloudy / Milky White | Water ingress (condensation or external leak) | Corrosion, seal swelling, reduced lubrication | Fluid filtration or complete replacement; identify water source |
| Dark / Opaque / Black | Oxidation, thermal breakdown, wear particles | Pump/valve wear, seal hardening, system pressure loss | Full fluid drain, system flush, and new fluid refill |
| Visible Particulates / Sludge | Abrasive debris, seal fragments, external dirt | Scored cylinder rods, clogged valves, premature seal failure | Fluid replacement, filter change, system disassembly for cleaning |
Pre-Maintenance Diagnostic Sequence
1. Visual/Auditory Check
Leak detection, pump noise, fluid level
2. Functional Cycle Test
Smoothness, speed, cylinder synchronization
3. Static Pressure Hold Test
Identify internal/external leaks
4. Fluid Condition Evaluation
Visual inspection or laboratory sampling
A thorough inspection prior to disassembly provides a diagnostic baseline and informs the scope of required maintenance. This proactive assessment helps distinguish between routine preventative actions and corrective repairs for existing faults. Documenting initial conditions, such as the exact locations of oil seepage or any unusual sounds, creates a reference for comparison after maintenance is completed. The inspection process should be methodical, progressing from simple visual checks to more involved functional tests, allowing for a comprehensive evaluation of the hydraulic opening device's health without immediate intervention. This staged approach ensures that no potential issue is overlooked and that maintenance efforts are accurately targeted, a practice beneficial for all complex mechanical systems with interconnected subsystems.
The value of a detailed pre-maintenance inspection lies in its predictive capability. Identifying a minor leak or a slight change in operation speed can signal impending seal wear or fluid contamination before a catastrophic failure occurs. This allows for planned maintenance during scheduled downtime, avoiding the higher costs and production losses associated with emergency breakdowns. Recording observations in a maintenance log further enhances this strategy, building a historical performance profile for the equipment that can guide future inspection intervals and part replacement schedules. Such systematic evaluation is a hallmark of professional industrial maintenance management.
Initial Visual and Auditory Assessment for External Indicators
The first diagnostic layer involves a careful visual scan of the entire hydraulic circuit. Examine all hydraulic hoses, pipe fittings, the cylinder barrel, and the piston rod for any signs of wetness, oil drips, or accumulated grimy deposits which often indicate a chronic, slow leak. Inspect the hydraulic reservoir's sight glass to confirm the fluid level is within the operating range. Subsequently, with safety protocols observed, briefly energize the hydraulic power unit while the crusher is idle. Listen attentively to the pump during this short operation. A healthy pump emits a steady hum, while whining or cavitation noises can suggest issues like a clogged inlet filter, aerated fluid, or internal pump wear, providing early auditory clues to system health.
Functional Testing to Assess Operational Smoothness and Speed
Operate the control valve to cycle the rear frame through a complete opening and closing sequence. Observe the motion closely; it should be fluid and consistent from start to finish. Any hesitation, jerky movement described as "chatter" or "sticking," particularly at the beginning of the stroke, may indicate air in the system or issues with cylinder lubrication. For crushers equipped with two synchronized cylinders, verify that both extend and retract in unison, ensuring the frame opens evenly without binding. It is also useful to time the full cycle duration and compare this metric to historical data or the manufacturer's specification; a noticeable slowdown can point to increased internal friction, worn pump components, or fluid viscosity problems.
Pressure Integrity Examination and Leak Point Localization
A more targeted test involves checking the system's ability to hold pressure. Actuate the cylinder to a mid-stroke position and then turn off the hydraulic pump. With the system in this static, pressurized state, carefully inspect all previously identified suspect areas and common failure points like seal glands and threaded connections. Use a clean, absorbent paper towel to wipe around fittings; a fresh smear of oil immediately after wiping confirms an active leak. This static pressure test is more effective for finding leaks than observation during dynamic operation, as it removes the dispersing effect of moving fluid and highlights even small weeping points that could lead to larger failures.
Evaluation of Hydraulic Fluid Condition and Contamination Levels
The hydraulic fluid is the lifeblood of the system, and its condition directly impacts performance and component lifespan. During the visual inspection, note the fluid's appearance in the reservoir. Fresh hydraulic oil is typically clear and amber. Cloudy or milky fluid suggests water contamination through condensation or ingress, which promotes corrosion and degrades lubrication. Very dark or opaque fluid may indicate advanced oxidation, thermal breakdown, or a high concentration of wear particles. For a definitive assessment, periodic fluid analysis through oil sampling is a superior practice. Laboratory analysis can quantify contamination levels, measure viscosity, and detect the presence of wear metals, providing a scientific basis for deciding between fluid filtration, topping up, or a complete oil change, a consideration equally vital in the operation of mobile crushing equipment with similar hydraulic systems.
Sequenced Disassembly Procedure for the Hydraulic Opening Assembly
Sequenced Hydraulic System Disassembly Procedure
1. Lockout-Tagout & Pressure Relief
Isolate power & bleed residual pressure
2. Fluid Containment Setup
Place drip pans to capture residual fluid
3. Tag & Disconnect Hoses
Seal open ports to prevent contamination
4. Remove Cylinder Assembly
Support weight & avoid rod damage
5. Isolate & Inspect Power Unit
Clean exterior & prepare for service
Disassembly Critical Precautions
| Step | Key Precaution | Consequence of Non-Compliance |
|---|---|---|
| Pressure Relief | Cycle control valve repeatedly with power off | Sudden fluid ejection causing injury or equipment damage |
| Hose Disconnection | Seal open ports with plastic caps/clean tape | Contamination ingress leading to premature component wear |
| Cylinder Removal | Support cylinder weight before removing final fastener | Piston rod scoring or bending; personal injury from falling weight |
Executing a disciplined disassembly sequence is paramount for preventing component damage and ensuring an efficient reassembly process. The procedure must prioritize safety and meticulousness over speed. A systematic approach involves first making the system safe, then methodically separating components while keeping track of their orientation and relationships. Organizing removed parts in a clean, ordered manner and labeling or photographing connections are invaluable practices that prevent confusion during reassembly. This phase transforms the integrated hydraulic system into its constituent parts, preparing them for cleaning, inspection, and the replacement of worn seals, a process that shares logical steps with maintaining other crusher subassemblies of significant mass and complexity.
The disassembly process is not merely a means to an end but an opportunity for a deeper inspection. As components are removed, surfaces normally hidden from view become accessible for examination. This allows for the detection of scoring on a cylinder rod, corrosion inside a port, or a cracked weld on a mounting bracket that would be missed during an external inspection. Each step should therefore be performed with an observational mindset, noting the condition of each part as it is separated. This detailed knowledge informs not only the immediate repair but also contributes to a longer-term understanding of the system's wear patterns and potential failure modes under specific operating conditions.
Initial Step: System Pressure Relief and Controlled Fluid Containment
The disassembly sequence formally begins after all safety isolations are confirmed. With the system electrically locked out, carefully operate the manual control valve lever back and forth several times. This action bleeds off any residual hydraulic pressure that may be trapped in the cylinders or the lines connecting them to the valve bank. Following this, place drip pans or suitable containers beneath the hydraulic connections that will be opened. By slowly loosening these connections, any fluid remaining in the lines can be drained in a controlled manner into the containers, preventing uncontrolled spills and facilitating proper fluid recovery or disposal in accordance with environmental regulations.
Subsequent Step: Safe Disconnection of Hydraulic Lines and the Cylinder
Before disconnecting any hydraulic hoses, it is highly advisable to tag them or take detailed photographs showing their routing and connection points at both the cylinder and the valve manifold. This visual record serves as a reliable guide for reconnection later. Using appropriately sized wrenches to avoid rounding fittings, disconnect the hydraulic hoses from the cylinder ports and other relevant junctions. Immediately after disconnection, seal the open ends of both the hoses and the cylinder ports using dedicated plastic caps or plugs, or alternatively with clean, impermeable tape. This critical practice prevents the ingress of airborne dust, dirt, and moisture which could contaminate the entire hydraulic system upon reassembly and restart.
Third Step: Removal of the Cylinder Assembly from Its Mountings
The hydraulic cylinder is a heavy component. Its removal requires planning to manage its weight safely. First, remove the pins, bolts, or clevis mounts that secure the cylinder to its mounting lugs on both the crusher's main frame and the movable rear frame. Before extracting the final fastener, ensure the cylinder body is supported. A portable hydraulic jack or an overhead hoist can be used for this purpose. With the weight securely supported, remove the last fastener and carefully lower or maneuver the cylinder out of its operational position onto a stable, protected work surface. This controlled handling prevents damage to the finely finished piston rod surface and avoids personal injury.
Fourth Step: Isolation and Preliminary Inspection of the Power Unit
If the maintenance scope extends to the hydraulic power unit or if diagnostics pointed to a pump issue, this component should also be prepared for service. Disconnect the electrical supply cables to the power unit's motor, following lockout-tagout procedures. Also, disconnect any control wiring or pressure sensor lines. Thoroughly clean the exterior of the power unit, removing accumulated dust and oil film. This cleaning allows for a clearer inspection of the unit's casing for leaks and prepares it for possible tasks such as replacing the hydraulic fluid filter element, checking shaft seals, or servicing the pump itself, operations that demand a clean working environment to prevent internal contamination.
Identification, Removal, and Installation of Sealing Components
Common Seal Types & Applications in Hydraulic System
| Seal Type | Sealing Category | Typical Application | Recommended Material |
|---|---|---|---|
| O-Ring | Static (non-moving surfaces) | Valve ports, cylinder end caps, filter gaskets | Nitrile Butadiene Rubber (NBR) |
| Rod Seal | Dynamic (moving piston rod) | Cylinder rod gland, prevents external fluid leakage | Polyurethane (PU) / NBR Blend |
| Piston Seal | Dynamic (moving piston within cylinder) | Cylinder piston, separates cap/rod end fluid chambers | Fluorocarbon (FKM) / High-Durometer PU |
| Flat Gasket | Static (flange/threaded connections) | Hydraulic hose fittings, valve manifold flanges | Composite Rubber / Metal-Clad |
Seal Replacement Step-by-Step Workflow
1. Extract Worn Seals
Use plastic/brass tools; avoid metal scrapers
2. Clean Seal Grooves/Surfaces
Lint-free cloth + compatible solvent
3. Inspect for Surface Damage
Check for nicks, scratches, or corrosion pits
4. Lubricate & Install New Seals
Use clean hydraulic fluid; avoid seal twisting
This phase focuses exclusively on the seals, the components most critical to preventing hydraulic system failures. Correctly identifying seal types, employing proper removal techniques to avoid damaging mating surfaces, and executing precise installation are sequential skills that determine the success of the maintenance. Using seals of the incorrect size, material, or hardness rating will lead to premature failure, negating all previous efforts. The work demands patience and attention to detail, as the seals are often the smallest yet most vital parts within the massive assembly of an impact crusher. Mastery of these techniques is beneficial for maintaining various industrial processing systems that rely on hydraulic or pneumatic actuation.
The act of seal replacement is a direct intervention in the system's long-term reliability profile. Each seal has a specific function dictated by its design; static seals like O-rings simply fill a gap between non-moving parts, while dynamic seals like rod seals must maintain contact with a moving surface without causing excessive wear or friction. The selection of replacement seals should always favor original equipment manufacturer specifications or certified equivalents that match the original material, such as Nitrile Butadiene Rubber for standard mineral oil applications, and the exact cross-sectional and inner diameters. Deviations here are a common source of recurring leaks.
Classification of Common Seal Types: O-Rings, Rod Seals, and Gaskets
Within the hydraulic opening device, several distinct seal types are employed, each suited to a specific sealing challenge. O-rings, circular elastomeric loops with a round cross-section, are predominantly used for static sealing. They are compressed within a machined groove between two stationary parts, such as between a valve block and its cover plate. For dynamic sealing along the moving piston rod, lip seals or rod seals are used. These have a shaped profile, often with a flexible lip that is energized by system pressure to maintain tight contact against the rod surface. Additionally, flat gaskets made of composite materials or metal washers with rubber coatings are frequently used for sealing pipe threads and flange faces, completing the system's fluid containment strategy.
Recommended Methodology for the Careful Extraction of Worn Seals
Removing old, hardened, or deformed seals requires a gentle approach to preserve the integrity of the sealing grooves and machined surfaces. Specialized tools made of plastic, brass, or wood are recommended for this task. The use of sharp metal tools like screwdrivers, awls, or picks is strongly discouraged. These metal tools can easily score or gouge the soft metal of the seal gland or the precision surface of the piston rod, creating leak paths that even a new seal cannot overcome. The proper technique involves working the tip of the plastic tool under the seal and carefully lifting or rolling it out of its groove without applying excessive force that could damage the surrounding hardware.
Cleaning and Inspection of Seal Grooves and Mating Surfaces
Once all old seals are removed, the next crucial step is a thorough cleaning of all sealing contact areas. Use a lint-free cloth and a solvent compatible with the hydraulic system to wipe out seal grooves, the entire length of the piston rod, and the internal bore of the cylinder. The objective is to remove all old seal debris, residual fluid, and any embedded contamination. Following cleaning, conduct a meticulous visual and tactile inspection. Run a fingernail carefully along the sealing surfaces to detect any nicks, scratches, or corrosion pits. Minor imperfections can sometimes be remedied by polishing with a very fine abrasive stone or emery cloth, but deep grooves or pitting typically necessitate component repair or replacement to achieve a reliable seal.
Correct Installation Techniques and Lubrication for New Seals
Prior to installation, verify that every new seal's part number and dimensions match the original specifications. Lightly coat each new seal and its corresponding installation groove or surface with clean hydraulic fluid. This lubrication eases installation and prevents the dry seal from twisting, cutting, or rolling during assembly. For O-rings, carefully stretch and roll them into their grooves, ensuring they sit evenly without being twisted. Installing rod seals often requires a dedicated installation sleeve or a cone-shaped guide to gently funnel the seal over the end of the piston rod without damaging its sharp sealing lip. The seal must be pressed squarely into its housing using a suitable sized socket or driver until it is fully seated, maintaining the correct orientation as specified by the manufacturer.
Reassembly, Fluid Replenishment, and System Purging
Hydraulic System Reassembly & Purging Sequence
1. Remount Cylinder Assembly
Torque fasteners to manufacturer specs
2. Reconnect Hydraulic Hoses
Follow tags/photos for correct routing
3. Refill Hydraulic Reservoir
Use manufacturer-specified fluid grade
4. Bleed Trapped Air
Open bleed screws; jog pump to expel air
5. No-Load Functional Test
Verify smooth operation & no immediate leaks
Hydraulic Fluid Refill Specifications
| Refill Step | Requirement | Verification Method |
|---|---|---|
| Fluid Selection | Match manufacturer's viscosity & additive package | Cross-reference fluid label with crusher maintenance manual |
| Filtration During Refill | Use filtered funnel (≥10 micron rating) | Inspect funnel filter for debris post-refill |
| Fluid Level | Fill to midpoint of sight glass (system at rest, cold) | Visually confirm level; no overflow or underfill |
Reassembly is the process of reconstructing the hydraulic system with the renewed components, following a reverse sequence to disassembly while incorporating the lessons learned during inspection. The goal is to restore all mechanical connections and fluid pathways to their original, leak-free condition. A pivotal step in this phase is the purging of air from the system, a process known as bleeding. Entrapped air is compressible and causes spongy cylinder operation, erratic movement, and potential damage from cavitation within the pump. Therefore, reassembly is not complete until the hydraulic fluid circulates as a solid, uninterrupted column without air pockets, ensuring the responsive and powerful operation expected from the PF series impact crusher's ancillary systems.
The reassembly process integrates the cleaned and resealed components back into the crusher's structure. Each connection must be restored with attention to detail, particularly torque specifications for bolts and fittings. Over-tightening can strip threads or crush seals, while under-tightening guarantees leaks. Following the reconnection of all hydraulic lines and the remounting of the cylinder, the system is physically complete but not yet operational. The introduction of fresh hydraulic fluid and the subsequent bleeding procedure are what restore functionality. This sequence transforms a collection of serviced parts back into a cohesive, functional subsystem ready for verification testing under load.
Primary Step: Reinstallation of the Cylinder and Reconnection of Lines
Begin by carefully positioning the serviced hydraulic cylinder back between its mounting points on the crusher frame. Reinstall the mounting pins or bolts, applying the manufacturer's specified torque values to ensure a secure fit without overstressing the components. Next, refer to the photographs or tags made during disassembly to correctly reconnect each hydraulic hose to its respective port on the cylinder and the control manifold. Ensure all connection threads are clean and undamaged. Tighten each fitting firmly using the correct wrench size, again adhering to recommended torque values if available, to create a metal-to-metal seal that will be supplemented by the installed gaskets or O-rings.
Secondary Step: Refilling the Hydraulic Reservoir with Specified Fluid
With all mechanical reconnections verified, the hydraulic reservoir can be refilled. Use only the grade and type of hydraulic fluid specified by the crusher manufacturer, as its viscosity and additive package are selected for compatibility with the system's seals and components. Pour the fluid through a filtered funnel to prevent introducing new contaminants. Fill the reservoir to the level indicated on the sight glass or dipstick, which is typically at the midpoint when the system is at rest. After the initial fill, perform a final visual check of the entire reassembled circuit, confirming that every connection is secure and that no tools or foreign objects have been left in the work area.
Tertiary Step: Executing the Air Bleeding Procedure from the Circuit
Air trapped within the hydraulic lines or cylinder must be expelled. Locate the system's bleed screws, which are often found at the highest points on the valve manifold or the cylinder itself. Loosen these bleed screws slightly. Momentarily activate the hydraulic power unit's motor in short bursts or "jogs." This causes the pump to push fluid through the lines, forcing air out through the open bleed ports. Once a steady stream of fluid free of air bubbles emerges from each bleed point, promptly tighten the screw while fluid is still flowing to prevent air from being sucked back in. Monitor the reservoir fluid level throughout this process, adding more fluid as needed to prevent the pump from drawing in air from the tank.
Final Preparatory Step: Initial Functional Testing Under No Load
After bleeding, conduct a preliminary operational test with the crusher empty and its drive system off. Actuate the control valve to cycle the rear frame through several complete opening and closing sequences. Observe the motion for the smooth, steady progression that indicates an air-free system. Listen for any unusual noises from the pump or cylinders. Visually inspect every newly reconnected fitting and the newly installed seals for any immediate signs of leakage during this low-pressure cycling. This no-load test serves as a safe and effective proof-of-concept before the system is committed to the forces encountered during actual crusher maintenance operations, aligning with the prudent commissioning steps for heavy machinery in demanding sectors.
Post-Maintenance Verification Testing and Performance Validation
Post-Maintenance Performance Validation Metrics
| Test Type | Key Performance Indicator (KPI) | Acceptable Standard | Failure Indication |
|---|---|---|---|
| Pressure Hold Test (5-10 mins) | System pressure decay rate | ≤5% pressure drop (minor elastic deformation) | >10% pressure drop; visible fluid leakage |
| Full Stroke Cycle Test | Cycle duration; movement smoothness | Match manufacturer's cycle time; no chatter/sticking | >20% slower cycle; jerky or incomplete movement |
| Cylinder Synchronization Test (Dual Cylinders) | Stroke alignment between cylinders | Simultaneous start/stop; ≤1mm stroke deviation | Visible lag; frame twisting during movement |
| Leak Inspection (Operating Temp) | Seal/gasket/hose fitting condition | No visible wetness or fluid drips | Fresh oil smears; dripping fluid at connections |
Post-Maintenance Validation Sequence
1. Pressure Performance Test
Verify maximum pressure & hold capability
2. Full Stroke & Synchronization Test
Cycle multiple times; check alignment
3. Comprehensive Leak Re-Inspection
Check all seals at operating temperature
4. Document & Update Maintenance Log
Record test results & plan future intervals
Following reassembly and initial testing, a series of more rigorous validation tests are essential to confirm the hydraulic opening system operates within its intended performance parameters. These tests move beyond basic functionality to quantify pressure integrity, operational consistency, and seal effectiveness under simulated working conditions. The data gathered establishes a post-maintenance performance benchmark for future comparison, turning a qualitative assessment into a quantitative record. This rigorous closure to the maintenance cycle provides confidence that the system will perform reliably until the next scheduled intervention, minimizing the risk of in-service failure. Such validation protocols are a standard part of professional maintenance for critical industrial equipment.
The validation phase is the final quality gate before the equipment is returned to active service. It systematically challenges the system to verify that the repair has addressed the original issues and introduced no new ones. Tests are designed to reveal weaknesses that might not be apparent during gentle, no-load operation. For instance, a slight internal leak in a cylinder may only manifest as drift under sustained pressure. By applying these tests, maintenance personnel can sign off on the work with documented evidence of its success, ensuring that the crusher's availability for production is not compromised by an unresolved hydraulic fault.
Pressure Performance Evaluation and Sustained Hold Testing
Connect a calibrated pressure gauge to a test port on the hydraulic system, if available. Operate the cylinder against its mechanical stop or a simulated load to bring the system to its maximum operating pressure. Observe the gauge to confirm the pressure reaches the manufacturer's specified range. Next, conduct a pressure hold test. With the cylinder extended to a mid-stroke position and the system pressurized, turn off the hydraulic pump and isolate the cylinder. Monitor the pressure gauge over a set period, such as five to ten minutes. A gradual but minimal pressure drop is normal due to minor elastic deformation of components; however, a rapid pressure decline indicates a significant internal or external leak, signaling that further investigation into the seal integrity is required.
Full Stroke Operational Testing and Synchronization Verification
Command the hydraulic system to perform multiple complete cycles from the fully closed to the fully open position and back. This test evaluates the system's performance at the extremes of its range, checking for proper operation of any built-in cushioning at the end of strokes and ensuring the cylinder reaches its complete mechanical travel without strain. For crushers utilizing two hydraulic cylinders in parallel to open a wide rear frame, this test is critical for verifying synchronization. Both cylinders must start and stop moving simultaneously, and the rear frame must remain parallel throughout its travel. Any visible lag or twisting indicates an imbalance in flow or pressure between the two circuits, potentially due to a faulty flow divider, a misadjusted valve, or differing friction loads, necessitating correction.
Comprehensive Leak Re-inspection and Final System Cleanup
After the system has been operated through its full test cycle and the fluid has reached a typical operating temperature, perform a final, meticulous leak check. Inspect every seal replacement point, every reconnected fitting, and the entire length of the piston rod. Use a clean, dry cloth or paper to wipe each area; any trace of oil signifies a leak that must be addressed. Following this confirmation, conduct a thorough cleaning of the entire hydraulic opening device assembly and the surrounding area on the crusher. Remove all traces of spilled hydraulic fluid, grease, and fingerprints using industrial degreasers and cloths. This final cleanup not only presents a professional appearance but also makes future leak detection easier by providing a clean baseline, a practice that supports the longevity of precision machinery.
Maintenance Documentation Update and Planning for Future Intervals
Formalize the maintenance activity by updating the crusher's permanent maintenance log or computerized management system. Record the date, the specific work performed, the types and quantities of seals replaced, the brand and volume of hydraulic fluid added, and the results of all post-maintenance tests including hold pressure readings and cycle times. This record is invaluable for tracking component life, planning future preventative maintenance, and providing evidence of care for warranty or resale purposes. Based on the findings during disassembly and the seals' condition, recommend a conservative interval for the next inspection or preventive seal replacement, thereby closing the current maintenance loop and proactively initiating the next cycle of system care.
Development of a Preventive Maintenance Strategy and Troubleshooting Framework
Preventive Maintenance Tiered Schedule & Tasks
| Maintenance Tier | Frequency | Key Tasks | Objective |
|---|---|---|---|
| Daily Check | Before each shift | Visual leak check; fluid level verification; pump noise inspection | Identify immediate, critical issues before operation |
| Weekly Inspection | Every 7 days / 40 operating hours | Hose condition check; mounting bolt tightness; cylinder rod corrosion inspection | Detect early wear trends; prevent minor issues from escalating |
| Monthly Service | Every 30 days / 160 operating hours | Filter condition check; pressure test; full cycle functional verification | Validate system performance; ensure filter integrity |
| Annual Comprehensive Service | Every 12 months / 1500-2000 operating hours | Full seal replacement; fluid analysis & replacement; pump/valve overhaul | Prevent catastrophic failure; extend system service life |
Common Troubleshooting Workflow (Two Key Scenarios)
Scenario 1: Inadequate System Pressure
1. Verify fluid level & motor operating speed
2. Inspect suction line filter for clogging
3. Check relief valve for misadjustment or failure
4. Inspect pump for internal wear & external leaks
Scenario 2: Slow/Irregular Cylinder Movement
1. Perform re-bleeding to expel trapped air
2. Verify hydraulic fluid viscosity matches ambient temperature
3. Inspect cylinder piston for internal leakage
4. Check cylinder mounts for misalignment or binding
The completion of a specific repair event is an ideal time to institutionalize a broader preventive maintenance strategy for the hydraulic opening system. This involves transitioning from reactive fixes to a scheduled, condition-based approach designed to prevent failures before they occur. A core element of this strategy is the creation of standardized inspection checklists with defined frequencies—daily, weekly, monthly—and the establishment of clear replacement intervals for consumable items like seals and filters based on operating hours. Complementing this, a structured troubleshooting guide empowers onsite personnel to efficiently diagnose and resolve common problems, minimizing diagnostic downtime. This dual approach of scheduled care and guided problem-solving ensures the system's long-term reliability and supports the operational goals of the entire crushing plant, much like the planned upkeep for a vertical shaft impact crusher's bearing assembly.
A preventive maintenance plan is a systematic investment in equipment reliability. It allocates resources based on predicted wear rather than unpredictable breakdowns. By regularly monitoring key indicators such as fluid cleanliness, seal condition, and system pressure, trends can be identified. A gradual increase in fluid contamination, for example, can prompt an early filter change before pump wear accelerates. This proactive stance is fundamentally more cost-effective than reactive repairs, which often involve secondary damage, emergency parts sourcing, and greater production losses. The troubleshooting framework, often presented as a decision-tree flowchart, provides a logical pathway from observed symptom like "cylinder drifts down" to probable causes like "leaking piston seal" or "faulty holding valve," enabling faster, more accurate repairs.
Formulation of Periodic Inspection Checklists and Service Intervals
Develop a tiered inspection schedule. Daily checks might include a visual scan for leaks and confirming hydraulic fluid level. Weekly inspections could involve listening for pump noise and checking hose condition for cracks or abrasions. Monthly tasks may entail checking all mounting bolts for tightness and inspecting the piston rod for scratches or corrosion. An annual comprehensive service should include fluid analysis and replacement of all critical seals as a preventive measure, regardless of visible leakage. Establishing these intervals, perhaps aligning seal replacement with a major crusher liner change every 1500 to 2000 operating hours, integrates the hydraulic system's care seamlessly into the plant's overall maintenance calendar.
Best Practices for Hydraulic Fluid Management and Contamination Control
Maintaining fluid purity is the single most effective way to extend the life of hydraulic components. Implement a policy of regular fluid sampling and laboratory analysis to track particulate counts, water content, and viscosity. Ensure all fluid added to the system is filtered, and keep storage containers sealed. Replace suction and pressure filter elements at or before the manufacturer's recommended intervals, and never ignore a filter condition indicator. Keep the reservoir filler cap clean and secure when not in use. These practices minimize the introduction of abrasive particles and water that cause wear and corrosion inside pumps, valves, and cylinders, protecting the substantial investment in the crusher's hydraulic and associated processing systems.
Troubleshooting Scenario One: Inadequate System Pressure or Failure to Build Pressure
When the hydraulic system fails to generate sufficient force to open the crusher, the cause can be traced through a logical sequence. Initial checks should verify that the electric motor is running at the correct speed and that the hydraulic reservoir has adequate fluid. The next step is to inspect the suction line filter for clogging, which can starve the pump. If the pump is receiving fluid but output pressure is low, the issue may lie with a misadjusted or failed relief valve, internal pump wear, or a significant external leak draining system pressure. A systematic check, starting from the power source and moving through the circuit to the actuator, is necessary to isolate the specific faulty component.
Troubleshooting Scenario Two: Slow or Irregular Cylinder Movement
Cylinder movement that is sluggish or exhibits a jerky stop-start motion, known as "stick-slip," typically points to issues with the fluid itself or internal resistance. The most common cause is air entrapment within the system, necessitating a re-bleed procedure. Other potential causes include the use of hydraulic fluid with an incorrect viscosity for the ambient temperature, either too thick when cold or too thin when hot. Internal leakage across the cylinder piston, allowing fluid to bypass, can also reduce effective speed. Finally, mechanical binding due to misalignment of the cylinder mounts or damage to the rod or gland can create excessive friction that the hydraulic pressure cannot overcome smoothly.